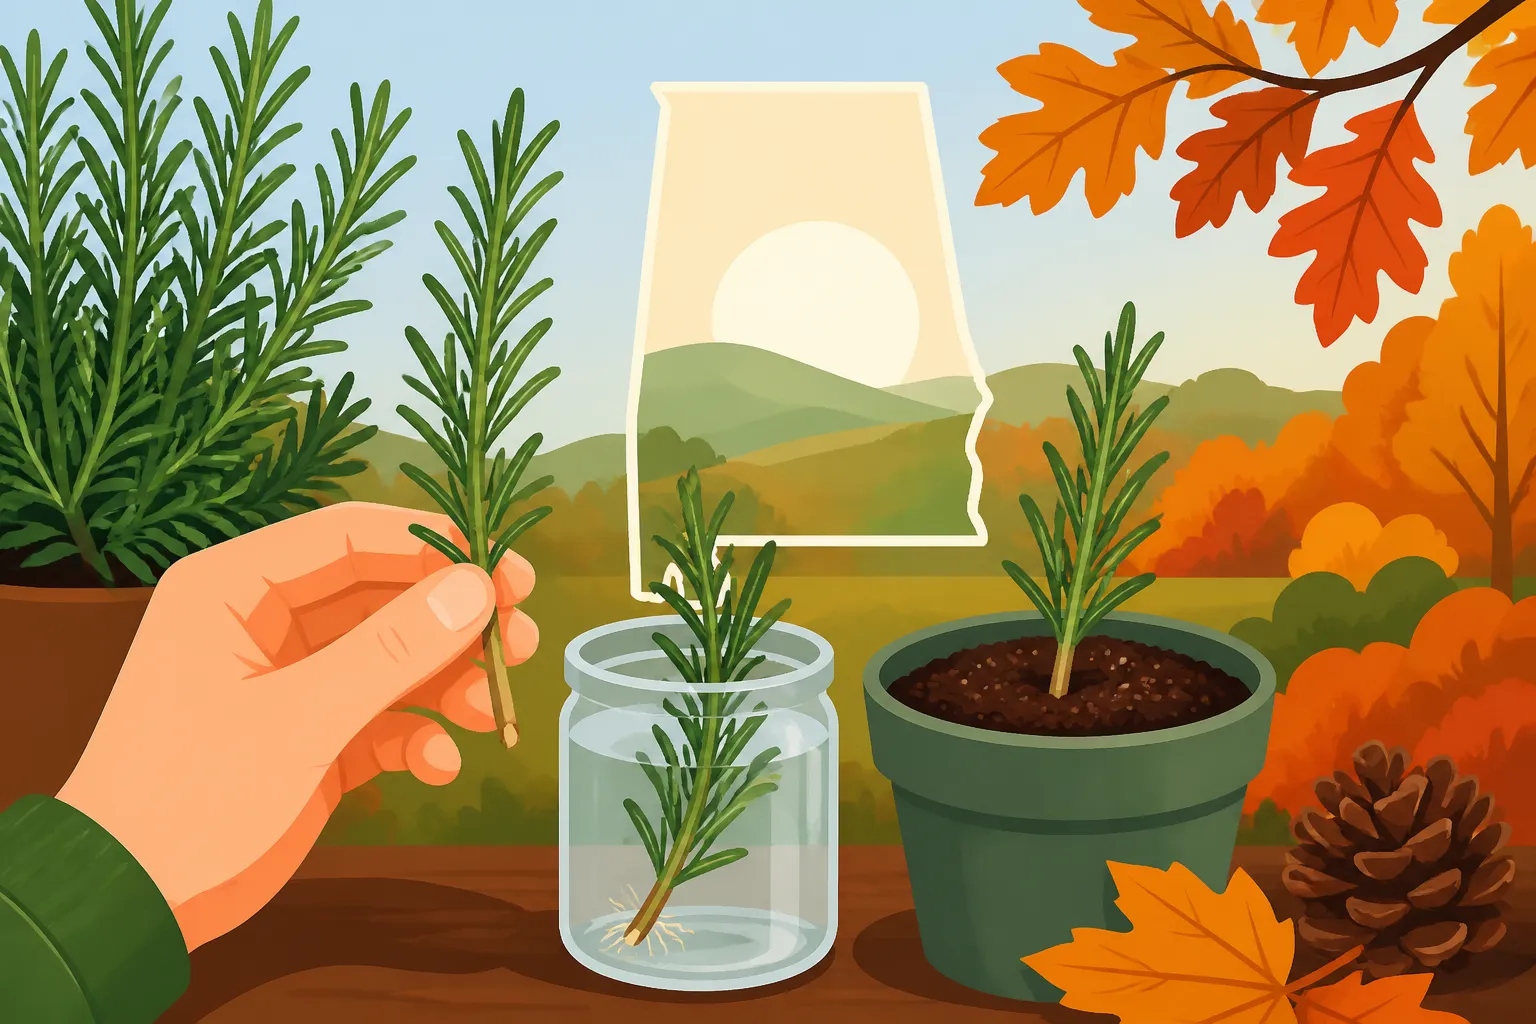
Starting Rosemary From Cuttings in an Alabama Fall
Rosemary can root from cuttings, but an Alabama fall brings a timing problem: a cutting needs to establish roots before cold weather stresses it. The reliable approach is to start with healthy, nonflowering shoots, root them in a small container, and protect young plants while they grow. Here’s how to adjust the process to your region, your indoor space, and the season.
Is fall a good time to start rosemary cuttings in Alabama?
Fall can work, especially if you have a healthy plant to take cuttings from and a bright, sheltered place to root them. The main trade-off is time: a new cutting has less opportunity to grow into a sturdy plant outdoors before winter than one started earlier in the year. Treat fall propagation as a project to manage through the colder months, not as a way to produce an instant replacement shrub.
Alabama’s growing conditions are not identical from the Tennessee Valley to the coast. Local weather, elevation, exposure, and the heat held by buildings and paved surfaces all affect how quickly a garden cools. A protected patio may stay milder than an open, low-lying bed nearby, but neither location guarantees frost protection. For regional context, see How Planting Dates Change Across Alabama’s Regions and How Elevation, Shade, and Coastal Wind Shift Alabama Microclimates.
Rosemary is a woody Mediterranean herb that prefers sunshine and sharply drained soil. It can struggle when roots stay wet, particularly in cool weather. A cutting in a small pot lets you manage drainage and shelter more easily than a cutting planted directly in the garden. It also gives you the option of moving the young plant under cover when a cold snap threatens.
Before starting, decide which outcome you want:
- A rooted plant for a container: This is often the most manageable fall goal. Keep it in a pot while it develops, then decide later whether to grow it as a container herb or plant it outdoors.
- A plant for a garden bed: Root the cutting in a container first. Transplant only when it has a healthy root system, and choose a site with excellent drainage and plenty of sun.
- Several backup plants: Take a few cuttings rather than relying on one. Some may fail to root, and having extras lets you keep the strongest plants.
Rosemary is not a quick crop like a salad green. A cutting that has not yet rooted cannot take up water as effectively as an established plant, and a new plant may need months of careful growing before it is ready for a permanent spot. If your original plant is already stressed by drought, disease, or poor drainage, first address that problem; cuttings taken from weak growth are a poor insurance policy.
Use local frost information to guide your expectations, not as a promise about the weather. First-frost estimates are probabilities and vary from year to year. The articles Alabama First Frost Dates: Estimating Fall Harvest by Weather Station and Tracking Fall Frost by ZIP Code: How Alabama Freeze Dates Shift explain how to interpret regional estimates. For rosemary, the practical decision is whether you can keep the cutting out of damaging cold while it establishes.
Choose a healthy parent plant and prepare the cutting
A successful cutting begins with a suitable stem. Choose a healthy rosemary plant that has been growing well, with no widespread browning, wilting, or signs of pests. A cutting cannot correct a problem that is already affecting the parent plant. If its roots are sitting in soggy soil or the plant is declining, improve the growing conditions before taking material.
Look for flexible, green growth that has started to firm up but is not an old, thick, woody branch. Very soft tips may wilt quickly, while mature woody stems can root more slowly. Select a nonflowering shoot if possible. A flowering stem is spending energy on reproduction, and flowers on the cutting are not useful while it is trying to form roots.
Take material from more than one stem if the parent plant is large enough to spare it. Choose several similar shoots so you have backups, but do not strip one side of the plant or remove enough growth to leave it badly shaped. A few well-placed cuts are better than heavy pruning in a stressful season.
Use clean, sharp scissors or pruners. A clean cut is less likely to crush the stem than a dull one. If you have used the tool on plants with possible disease, clean it before cutting healthy rosemary. Avoid taking cuttings when the parent plant is wilted from heat or has just suffered a severe dry spell; take them when it is hydrated and growing normally.
Prepare each cutting promptly:
- Cut a shoot several inches long, using a firm section of stem rather than a very soft tip.
- Remove the leaves from the lower part of the stem, leaving leafy growth near the top.
- Keep the leaves above the potting mix. Leaves buried in the mix can decay and encourage the stem to rot.
- If you cannot insert the cuttings right away, keep them shaded and prevent them from drying out while you prepare the containers.
There is no need to strip every leaf from the stem. The remaining leaves help the cutting continue to function, but an excessive amount of leaf area can lose water before roots form. Removing lower leaves creates a bare section to insert into the rooting mix and reduces the chance of buried foliage rotting.
A rooting hormone is optional. Some gardeners use it to support root development, while others root rosemary without it. If you choose to use one, follow the product label. Do not apply extra in an attempt to speed up rooting. The quality of the cutting, appropriate moisture, and a well-drained rooting medium matter more than adding unnecessary products.
What to gather before cutting
Have your materials ready so the cuttings do not sit around drying out. You need a small pot or tray with drainage holes, a fresh, porous potting mix suitable for rooting, clean water, and a bright location out of harsh direct sun while roots are forming. A clear cover can help maintain humidity, but it must not keep the cuttings wet or sealed in stagnant air.
A heavy garden soil is not a good substitute for a light rooting mix in a small pot. It can hold too much water, compact around the stem, and drain poorly. Rosemary’s preference for good drainage makes this particularly important. A suitable mix should stay slightly moist without becoming a dense, waterlogged mass.
Use a clean container. If reusing a pot, empty out old soil and clean the container before filling it. Check that water can leave through the drainage holes; a decorative pot without drainage can trap water at the bottom. If you want to use a cachepot, keep the planted pot separate and empty any water that collects in the outer container.
A small pot is generally easier to manage than a large one because there is less unused mix staying wet around the cutting. You can start several cuttings in one container if you leave enough space to keep them from crowding, or use separate small pots so each cutting can be moved without disturbing the others.
How to root rosemary cuttings step by step
The process is simple, but moisture management requires attention. The goal is to keep the cutting hydrated while encouraging it to form roots—not to keep the mix constantly soaked. Rosemary cuttings can fail when they dry out, but overwatering and poor drainage are just as important a risk.
- Moisten the rooting mix. Add water gradually and mix it through. The mix should feel evenly damp, not muddy or dripping. If water pools or the mix feels heavy and saturated, let it drain or adjust the mix before inserting cuttings.
- Fill the container. Add the prepared mix to a pot with drainage holes. Tap the pot lightly to settle the mix, but do not compress it into a hard layer.
- Prepare the stems. If the lower ends have dried while you prepared the pot, trim a small amount from the base with clean scissors. Make sure the lower stem is free of leaves.
- Insert each cutting. Use a pencil or similar clean object to make a narrow opening, then place the bare lower portion of the stem into the mix. Close the mix gently around it so the cutting stands upright. Avoid crushing the stem.
- Water gently. Add enough water to settle the mix around the stem, then allow excess water to drain completely. Empty any water that collects in a saucer.
- Label the pot. Include the plant name and the date you started the cuttings. This makes it easier to track progress without repeatedly pulling stems from the mix.
- Place the pot in bright, indirect light. A sheltered, well-lit location is preferable to hot direct sun while the cutting has no roots. Avoid a cold draft, a heating vent, or a spot where the container will overheat.
- Add humidity if needed. A loose clear cover can slow moisture loss. Keep it from pressing against the leaves, and vent it regularly. Remove it if condensation stays heavy, leaves begin to rot, or the mix remains wet.
- Check the mix, not a calendar. Touch the surface and inspect the pot regularly. Water when the mix is beginning to dry, then let excess drain. Do not water automatically every day.
- Wait for signs of growth and roots. New leaves may suggest the cutting is settling in, but visible top growth by itself does not prove that a strong root system has formed. Check gently rather than tugging frequently.
The cutting’s location matters. Outdoors, choose a sheltered position with light but without intense afternoon sun beating on the pot. Indoors, use the brightest available window that does not expose the cutting to a harsh temperature swing. A bright room is not always bright enough; if the stem stretches or leans strongly toward the window, it may be asking for more light.
Avoid leaving the pot in a saucer full of water. Waterlogged mix deprives roots and stems of the air they need and raises the risk of decay. At the other extreme, a small pot can dry quickly in warm, windy conditions. The right routine depends on the mix, container, shelter, and weather, so check the actual moisture rather than following a rigid schedule.
If you use a humidity cover, it should help reduce drying without turning the pot into a sealed, dripping environment. Heavy condensation and persistently wet leaves can lead to trouble. Prop the cover open or remove it for ventilation. As the cutting becomes established, gradually reduce the cover rather than moving it abruptly from high humidity into hot, dry air.
Rooting can take patience. Do not pull at the cutting every few days to see whether it has formed roots. That can damage new roots just as they start to grow. Instead, watch for steady new growth, and if the pot is small enough, look carefully for roots at drainage holes. You can also ease a cutting out gently once it appears established, keeping the surrounding mix intact. If there is little resistance and no sign of roots, return it to the mix and give it more time.
Aftercare while roots develop
Once the cuttings are in their pots, steady conditions are more useful than constant adjustment. Keep the mix lightly moist, provide good light, and protect the container from extremes. The leaves may droop briefly after cutting, but a cutting that stays limp, turns dark at the base, or develops soft stems may be failing.
Light and temperature
A cutting needs enough light to maintain healthy leaves, but direct heat can dry it before it can replace lost moisture through roots. Start with bright, indirect light. When new growth appears and the cutting seems stable, introduce more direct sun gradually. A sudden move from a protected indoor spot to full outdoor sun can scorch tender growth.
Protect the pot from cold snaps. A small container cools more quickly than garden soil, so a sheltered location or temporary move under cover can reduce exposure. Do not assume a wall, porch, or patio is frost-proof. Check the forecast and local conditions, and bring the pot to a protected place when cold threatens.
If you are deciding whether to leave the cutting outside, consider the whole situation: forecast temperatures, wind, the container’s size, how sheltered the spot is, and whether the cutting has roots. An established rosemary plant and an unrooted cutting are not equally resilient. The cutting has fewer ways to recover from cold, drying, or saturated soil.
Water and airflow
Check the mix with a finger rather than relying on the appearance of the surface alone. The top may look dry while the interior remains wet, especially in a deeper pot. Water gently when the mix is starting to dry, and allow all excess to drain. Do not keep adding water because the leaves appear droopy; wilting can result from both dry roots and roots damaged by excess moisture.
Good airflow helps keep leaves and stems from staying damp. If the cuttings are covered, provide ventilation. If they are uncovered and the air is dry, watch for rapid drying and adjust the location or cover rather than saturating the mix. These are competing needs, which is why checking the plant and mix is more reliable than following a fixed watering calendar.
Do not fertilize a cutting that has not yet rooted. It cannot make good use of added nutrients, and feeding does not replace root development. Once roots are established and the plant is actively growing, use a suitable potting approach and follow any product label if you use a fertilizer. Avoid heavy feeding; rosemary generally does not need the same treatment as a fast-growing vegetable crop.
How to recognize progress
Promising signs include firm stems, leaves that remain in good condition, and gradual new growth. These clues are useful, but new growth alone is not conclusive: a cutting can use stored energy before it has enough roots to support sustained growth. Roots visible at the drainage holes or a gentle resistance when the plant is carefully checked offer stronger evidence.
Signs of trouble include a blackened or mushy stem base, leaves falling off rapidly, persistent wilting despite damp mix, or a sour smell from the pot. These can point to overly wet conditions or a cutting that is not recovering. Remove a decaying cutting promptly so it does not affect healthy cuttings nearby. Check the drainage and moisture conditions before starting replacements.
A dry, brown tip is not always a lost cutting. Inspect the stem lower down. If it is still firm and green, it may continue to root; if the stem is dry or soft down to the base, it is unlikely to recover. Keep healthy cuttings separate from any showing clear decay, and do not let a struggling cutting convince you to soak the whole pot.
Potting up and protecting young rosemary through winter
When a cutting has formed roots and is growing steadily, move it into its own container if it shared a pot with others. Handle the root system gently, keep the new pot well drained, and use a pot only large enough to allow further growth without leaving a large volume of wet mix around the plant. Water it after potting, let it drain, and avoid placing it immediately in intense sun.
A rooted cutting may still be small and vulnerable. Keep it in a pot through the coldest part of the season if you are unsure whether it is ready for an outdoor bed. Container culture gives you control over its location and makes it easier to shelter the plant during a cold spell. The trade-off is that container roots can be more exposed to temperature changes and the mix can dry or become saturated quickly.
For an indoor winter location, choose the brightest suitable spot available and keep the plant away from cold drafts and strong heat from vents. Avoid moving it repeatedly between sharply different conditions. If it has been outside, let it adjust gradually to a protected location rather than making an abrupt transition from cold, bright weather to a warm room with much less light.
If the plant remains outdoors, choose a sheltered location and monitor the forecast. A covering may reduce exposure during a brief cold event, but it does not make every site safe or substitute for drainage. Use a cover suited to plants and remove or adjust it when conditions change. For additional context on winter protection, see Protecting Tender Container Plants Ahead of Winter Cold Snaps and Frost Protection Tips for Alabama’s Mild Winters.
Wait to plant a small cutting in the garden until it is well rooted and growing with some vigor. Choose a sunny site with soil that drains freely. Rosemary is a poor fit for a spot where water lingers after rain or where the bed stays persistently wet. If your yard has heavy, compacted soil, consider a raised or otherwise well-drained planting area rather than placing the plant in a low, soggy pocket. Improving Drainage in a Soggy Alabama Garden Bed can help you think through site conditions, while Using Your Alabama Zone When Buying Shrubs and Perennials explains why a regional rating is only one part of choosing plants.
When you do plant it outdoors, disturb the roots as little as possible. Set it at roughly the same depth it was growing in the pot, firm the soil gently, and water it in. Keep an eye on moisture while it adjusts, but do not leave it in saturated soil. A newly planted rosemary may need attention during dry weather, yet extra water is not automatically helpful if the site drains slowly.
If the cutting is still small as spring approaches, there is no penalty for keeping it in a container longer. Let it build a stronger root system and more branching before asking it to cope with garden conditions. This also gives you time to observe how the plant grows in your light and how well you can manage its winter shelter.
Troubleshooting common fall propagation problems
The cutting wilts soon after planting
Some temporary drooping can happen as a cutting adjusts. First check whether the mix is too dry or too wet. If dry, water gently and let the pot drain. If saturated, improve drainage and avoid adding more water. Move the pot out of hot direct sun and wind while it recovers. A loose humidity cover may help, but it should not trap constant moisture.
If the stem base is still firm, give the cutting time. If it is soft, dark, or collapsing, it may have begun to rot. Remove it and review the potting mix, drainage, and watering pattern before inserting another cutting.
The leaves turn brown or drop
A few older leaves may be lost after the stem is cut, but widespread browning can signal water stress, excessive sun, cold exposure, or decay. Check the stem and the mix rather than guessing from the leaves alone. A cutting in wet mix can wilt and brown even though it has plenty of water around it, because damaged or absent roots cannot take it up properly.
Move the cutting to a more stable spot and correct the underlying condition. Avoid trying to fix every symptom at once with extra water, fertilizer, or a stronger cover. Several changes at once make it harder to tell what is helping.
There is mold or a sour smell
Mold on the mix or a musty smell can indicate that conditions are too wet or poorly ventilated. Remove dead leaves, clear standing water, improve airflow, and let the mix begin to dry slightly before watering again. If the stem itself is soft or black, discard that cutting. A clear cover that stays wet inside may need to be vented more often or removed.
Do not reuse contaminated, soggy mix for replacement cuttings. Start with fresh, clean rooting material and a container that drains. If multiple cuttings are affected, inspect the entire setup rather than just removing the most damaged stem.
There is no new growth
A cutting can take time to root, and lack of visible growth does not automatically mean failure. Check whether the stem remains firm and whether the base is intact. Keep the conditions steady and avoid frequent pulling or repotting. If the cutting is still healthy, patience is better than disturbing it.
If the stem has shriveled, turned brown through its length, or become mushy, it is unlikely to recover. Take new material from a healthy parent plant when conditions permit, and improve the light, drainage, or moisture management that may have contributed to the loss.
The cutting has roots but looks weak
Roots are a good milestone, but they do not mean the young plant is ready for every condition. Give it a modest pot with drainage, bright light, and careful watering. Avoid strong direct sun until it has adjusted, and do not overpot it into a container full of wet mix. If it shared a pot with several cuttings, separate it gently so it has room to develop without being crowded.
A weak rooted plant is usually better kept sheltered until it has resumed growth. Do not rush it into a permanent bed simply because roots are visible. Let the plant show that it can maintain leaves and produce steady new growth.
The parent plant looks worse after taking cuttings
A few cuttings should not leave a healthy rosemary severely depleted. If the parent looks stressed, review whether it was already struggling, whether too much was removed, and whether its growing conditions are suitable. Rosemary needs drainage and sunlight; repeated wilting in wet soil is a reason to assess the site and root conditions rather than take more cuttings.
If the parent is declining, avoid removing additional stems until it stabilizes. A cutting taken from an unhealthy plant may carry the same problem, and propagation does not repair the original plant’s conditions.
A practical fall-to-spring plan
A simple plan helps prevent the two common mistakes: starting too late and keeping the cuttings too wet while waiting for roots. Use your local weather and the plant’s condition to make decisions rather than treating a particular date as a guarantee.
| Stage | What to do | What to watch for |
|---|---|---|
| Before taking cuttings | Select healthy, nonflowering growth and prepare clean pots and fresh mix | Parent plant health, drainage, and whether you can provide shelter |
| After insertion | Keep the mix lightly moist and place the pot in bright, protected light | Wilting, drying, waterlogging, and cold exposure |
| While roots develop | Maintain steady conditions and avoid tugging on stems | Firm stems, gradual growth, and roots at drainage holes |
| After rooting | Pot individual cuttings if needed and increase sun gradually | Root disturbance, overwatering, and sudden exposure |
| Through winter | Protect small plants from cold and keep containers draining | Forecast changes, wet mix, and inadequate light |
| As growth resumes | Continue container care or choose a sunny, well-drained garden site | Whether the plant is vigorous enough to transplant |
This plan is intentionally flexible. A cutting started early in a mild fall may have more time to establish than one started just before a cold spell. A protected, bright growing area can extend the useful rooting period, but it does not eliminate the need to check moisture and temperature. If conditions are already cold and the parent plant is outdoors, it may be more sensible to wait for a better propagation window than to rush the process.
Keep a small note with the date, source plant, and location of each pot. If one group does well and another struggles, those details can help identify whether light, airflow, or watering made the difference. Labeling also prevents the common mistake of assuming a cutting is rooted simply because it has been in the pot for a certain amount of time.
For a broader view of the season, Planning an Alabama Fall Vegetable Garden from Sowing to Frost and Alabama Vegetable Planting Guide: Dates for North and South Zones cover how fall timing shifts across the state. Rosemary is not a vegetable, but the same local reality applies: weather and growing conditions vary, so regional guidance should be used as a starting point rather than a rigid schedule.
Frequently Asked Questions
Can rosemary cuttings root in water?
They may form roots in water, but a cutting rooted in a porous potting mix is already adapting to the conditions it will need in a pot or garden bed. Water roots can be delicate during transfer. For fall propagation, rooting directly in a draining mix avoids that extra transition.
Should I take a flowering rosemary stem?
Choose a nonflowering stem when possible. The cutting needs to establish roots, so firm, healthy vegetative growth is a better choice than a shoot actively producing flowers.
How many cuttings should I start?
Start a few more than the number of plants you ultimately want, if the parent plant can spare them. Not every cutting will root, and keeping several gives you a choice of the strongest plants. Do not remove so much material that the parent plant is left depleted.
Can I plant a newly rooted cutting straight into the garden?
It is usually safer to let a small cutting grow in a container until it has a healthy root system and steady growth. A pot is easier to protect during cold weather and makes it easier to manage drainage while the plant is young.
Disclaimer
This article is for general informational purposes only and does not constitute professional advice. Laws, prices and regulations vary by location and change over time. Consult a qualified professional for guidance on your specific situation. Alabama Gardening Guide is not a government agency and is not affiliated with any university extension, state department of agriculture or other government agency.